Docker has long established itself as a standard for containerization and local development. So much that one would almost take it for granted, just like bash or basic UNIX commands. But with announced updates to Docker Desktop terms & conditions, it made me think: Can we even breathe without it on Macs, especially when we need to run multiple services locally? Let's explore possible alternatives...
We have to start first by making a distinction here - license changes apply to Docker Desktop, the application that enables us to use Docker on Macs or Window machines, not to Docker Engine itself, which is an actual open-source client-server application to build and run containers.
Secondly, we have to ask ourselves for which tasks do we need Docker? Most likely in two scenarios:
- to build images
- to run containers in local k8s cluster
We could start with Minikube and HyperKit which seemed to be the most frequent alternative. Unfortunately, it doesn't play nice with the new Apple M1 chips. Driven by impulse from colleagues, it pushed me to further and discover Multipass VM with MicroK8s.
Multipass VM
Multipass is a tool from Canonical to run the virtual machine (VM) that can be managed from the terminal with a single command. Let's get it with Homebrew:
brew install multipass
Now we're able to spin up our VM. What's more, to set it up, we can use cloud-init:
multipass launch --name microk8s-vm --mem 4G --cloud-init local-k8s.yml
I've prepared all that's needed in local-k8s.yml as below:
#cloud-config

# packages to install (via snap)
snap:
  commands:
    - [install, docker]
    - [install, microk8s, --classic]

# create the docker group
groups:
  - docker

# Setup default ubuntu user & enable SSH access
users:
  - name: ubuntu
    groups: sudo, docker
    shell: /bin/bash
    sudo: ALL=(ALL) NOPASSWD:ALL
    ssh-authorized-keys:
      - ssh-rsa <your-public-key>

# make sure firewall is not a problem
runcmd:
  - sudo iptables -P FORWARD ACCEPT
Once the execution is finished, we should get all the required pieces: VM with Docker Engine installed, user rights set according to recommended setup and MicroK8s to run local k8s cluster. My DevX heart rejoices.
Let's perform a quick check:
multipass exec microk8s-vm -- docker --version
Voilá! It should print Docker version:
Docker version 20.10.8, build 3967b7d28e
MicroK8s
MicroK8s is lightweight setup of Kubernetes. If you check our cloud config again, you can see that we've already installed it from snap, therefore as the next step, let's also set up microk8s command to manage that Kubernetes cluster within the VM:
brew install ubuntu/microk8s/microk8s
Because we named our Multipass VM as microk8s-vm, we're ready to go. Verify it as below:
microk8s status
There is one gotcha though if we try to run kubectl:
$ microk8s kubectl get pods
error: stat /Users/jaroslavkubicek/.microk8s/config: no such file or directory
Because we haven't initiated the VM by microk8s install as stated in official docs, we need to create the config ourselves. Fortunately, it's not much a fuss:
microk8s config > ~/.microk8s/config
Building Docker images in Multipass VM
If you look back into cloud-init config, you may also notice we provided SSH public key. We did so to be capable of building Docker images outside of Multipass VM, on our Mac.
Under normal circumstances, Docker client is likely configured to talk to Docker Engine daemon from Docker Desktop. When Docker Desktop is not running or not installed, it's not possible to build images:
docker build .

Cannot connect to the Docker daemon at unix:///var/run/docker.sock.
Is the docker daemon running?
But Docker client command supports contexts. So in order to build images in our VM, we can create a new one:
docker context create multipass \
  --description "Docker Engine in Multipass" \
  --docker "host=ssh://ubuntu@192.168.64.2"
docker context use multipass
Docker client will now use ssh to build images inside the VM. Note that it's necessary to ssh into the machine at least once beforehand to confirm the authenticity:
$ ssh ubuntu@192.168.64.2 # IP of VM, check yours with "multipass list"

The authenticity of host '192.168.64.2 (192.168.64.2)' can't be established.
ED25519 key fingerprint is SHA256:xxx.
This key is not known by any other names
Are you sure you want to continue connecting (yes/no/[fingerprint])? yes
If we run docker build . again, it should work now.
Time to celebrate: we have everything ready for local development. 🎉
Putting it all together
Let's start by enabling the local Docker image registry in microK8s cluster:
microk8s enable registry
As a result, MicroK8s will run a registry and expose it for us at localhost:32000.
In the next step, we're going to create Dockerfile. For the sake of our hello world example, it can be as short as the one below:
FROM nginx
Now we can proceed with building the image and pushing it to the registry:
$ docker build . -f Dockerfile

...

Status: Downloaded newer image for nginx:latest
---> 605c77e624dd
Successfully built 605c77e624dd

$ docker tag 605c77e624dd localhost:32000/nginx-hello
$ docker push localhost:32000/nginx-hello
And as the final touch, let's deploy our image into MicroK8s cluster. Considering we've crafted a file called nginx.yaml:
apiVersion: apps/v1
kind: Deployment
metadata:
  name: nginx-deployment
spec:
  selector:
    matchLabels:
      app: nginx-hello-world
  replicas: 2
  template:
    metadata:
      labels:
        app: nginx-hello-world
    spec:
      containers:
        - name: nginx
          image: localhost:32000/nginx-hello
          ports:
            - containerPort: 80
---
apiVersion: v1
kind: Service
metadata:
  name: nginx-hello-world
  labels:
    app: nginx-hello-world
spec:
  type: NodePort
  ports:
    - port: 8080
      targetPort: 80
      protocol: TCP
      name: http
  selector:
    app: nginx-hello-world
... we're ready to deploy it with:
microk8s kubectl apply -f nginx.yaml
... get NodePort of the service:
microk8s kubectl get svc
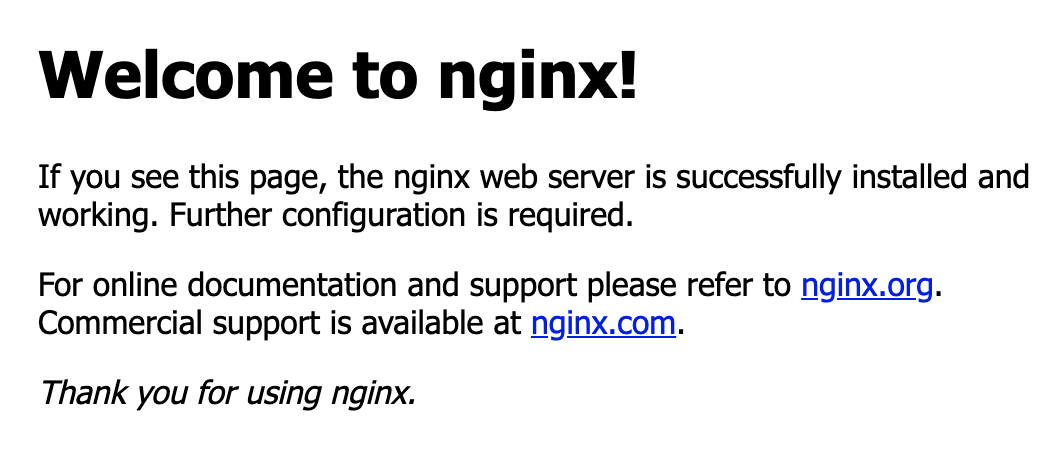
... and see nginx hello world, e.g. at http://192.168.64.2:31493:

Summary
We've managed to build docker images and deploy them into the local Kubernetes cluster, all without the need for Docker Machine. What's more, the whole setup is achievable with just a handful set of commands and since we've utilized cloud init, it can be shared easily within the whole organization.